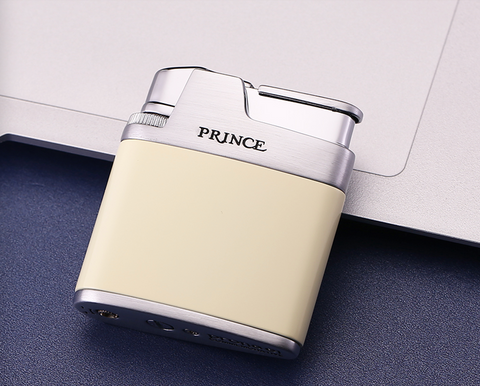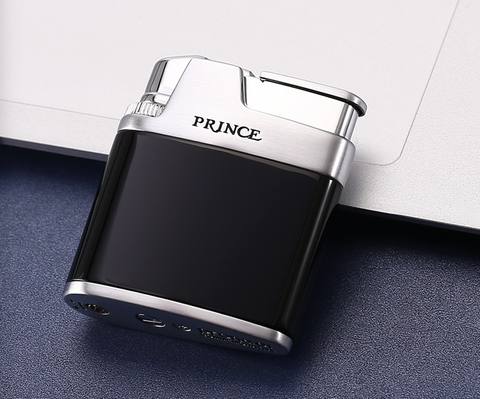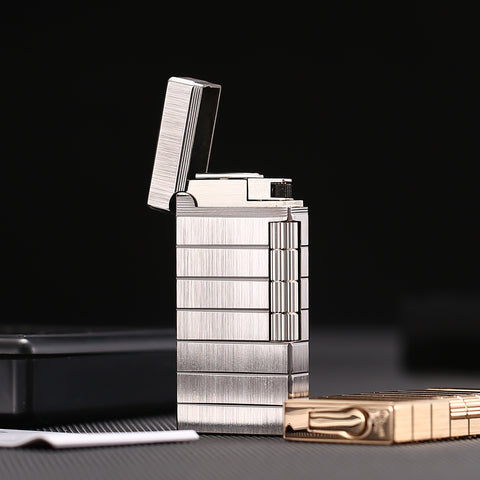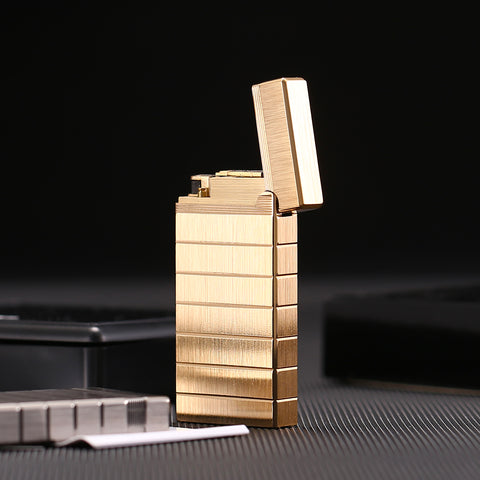
If you need to repair your Maduro cigar lighter, replace the internal regulator, or service the flame adjustment system, this guide walks you through the full process.
This procedure includes removing the screws, releasing gas, taking out the valve regulator, and handling small parts like the steel ball.
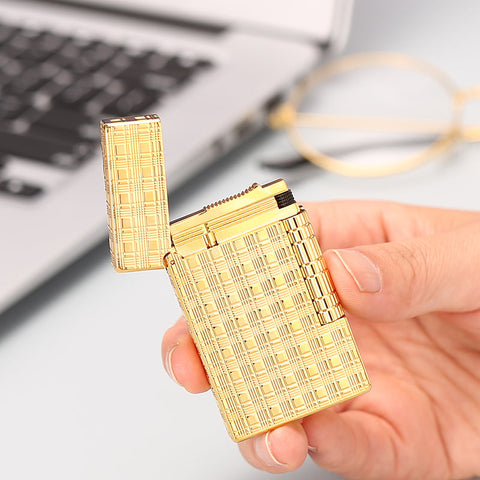
This tutorial is based on our official video demonstration.
Why You May Need to Replace the Valve Regulator
The valve regulator controls internal butane flow.
If this part becomes damaged or clogged, you may experience:
-
Weak flame
-
Inconsistent ignition
-
Flame not adjusting
-
Gas leaking
-
Valve knob stuck or loose
Replacing the regulator restores proper flame performance and ensures safe operation.
Before You Start: Important Safety Reminder
Working with lighters involves pressurized butane.
✔ Always empty all gas before removing internal parts
✔ Work in a well-ventilated area
✔ Keep away from flames, heat, or sparks
✔ Keep small parts (steel ball, screw, spring) in a safe tray
Step 1 – Remove the Screws Holding the Control Valve
Start by locating the screws around the flame adjustment control valve.
-
Use a small precision screwdriver
-
Gently loosen and remove each screw
-
Keep them safely nearby; they are easy to lose
Once the screws are removed, the control valve assembly becomes accessible.
Step 2 – Empty All Gas Before Disassembly
This step is critical for safety.
-
Turn the lighter upside down.
-
Use a small screwdriver or tool to press the gas port.
-
Butane will spray out — this is normal.
-
Keep pressing until no more gas is released.
-
Wipe away excess and allow remaining residue to evaporate.
You must ensure the lighter is completely empty to prevent gas spray when removing the regulator.
Step 3 – Use the Control Valve to Loosen the Internal Knob
If you don’t have a dedicated lighter repair tool, the control valve itself can be used as leverage to loosen the internal knob.
-
Rotate the adjustment valve counterclockwise
-
After about one full turn, the regulator will reach the internal limiter
-
Keep turning counterclockwise until the entire regulator comes out
This exposes the internal mechanism.
Step 4 – Remove the Valve Regulator
After loosening, the valve regulator will slide out.
Be aware:
-
There may still be small amounts of residual gas
-
Rotate slowly and control the movement
-
Do not force the part out
-
Ensure your face is not directly above the lighter
Once removed, you can clean, inspect, or replace the regulator.
Step 5 – Handle the Internal Steel Ball
Inside the regulator mechanism is a small steel ball.
Important notes:
-
Sometimes the steel ball stays inside during removal
-
Sometimes it will fall out
-
Both situations are normal
-
If it falls out, simply place it back into its seat during reassembly
Do not lose this part — it is crucial for proper gas control.
Step 6 – Reassemble After Replacement
To reinstall the regulator:
-
Insert the steel ball (if removed)
-
Slide the regulator into position
-
Turn clockwise to tighten
-
Reinstall the screws
-
Refill the lighter with fresh butane
-
Adjust the flame and test ignition
A correctly installed regulator will restore smooth flame adjustment and stable performance.
Troubleshooting After Reassembly
Weak flame
-
Ensure the regulator is not overtightened
-
Purge old gas and refill
-
Check the steel ball is seated properly
Flame too large
-
Turn the adjustment valve clockwise slightly
-
Ensure the regulator is not installed off-center
No flame
-
Recheck butane level
-
Verify the regulator is fully seated
-
Ensure screws are in place
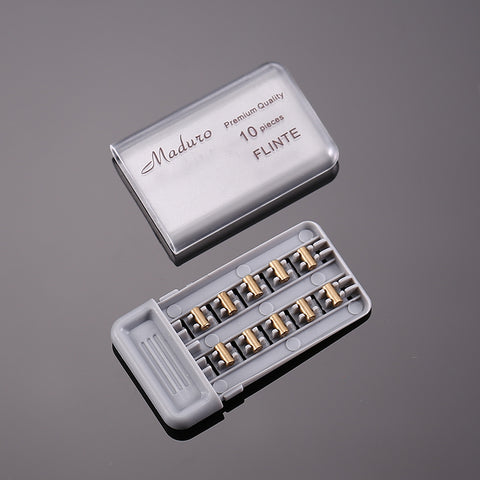
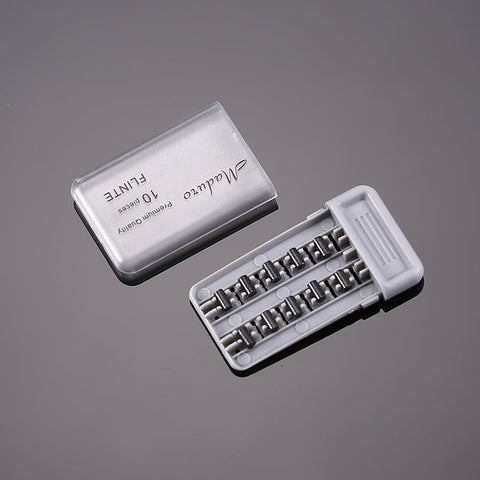
Need Replacement Parts?
We offer official replacement valves, screws, knobs, and components for all Maduro M1 / M2 lighters.
👉 Shop replacement parts at Cigar Accessories Warehouse
https://www.cigaraccessorieswarehouse.com/
Final Tips
-
Work slowly to avoid losing small parts
-
Always release all gas before repair
-
Keep the valve area clean
-
Use high-quality butane for best performance
With proper maintenance, your Maduro lighter will continue delivering a strong, reliable flame for years.