
How to Install and Adjust the Flame Adjustment Valve on Your Maduro Lighter
If the flame adjustment valve knob on your Maduro cigar lighter becomes loose, falls off, or needs replacement, you can easily reinstall it at home.
This step-by-step guide explains how to position the knob correctly, how to check your flame height, and how to secure the valve in place so your lighter works like new again.
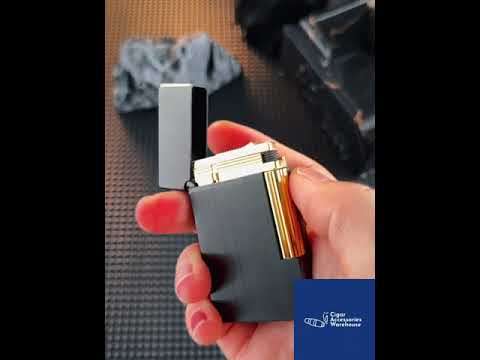
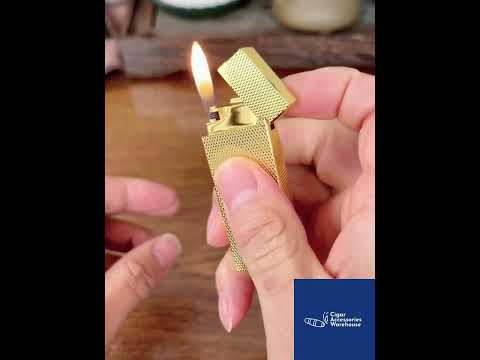
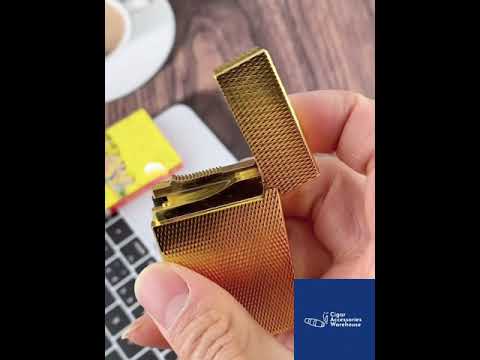
This tutorial is based on our official demonstration video:
👉 Watch the 20-second guide: https://www.youtube.com/shorts/ehjcUZz8CNs
Why the Flame Adjustment Valve Matters
The flame adjustment valve controls the butane output of your lighter.
If the knob is misaligned or installed incorrectly, you may experience:
-
Weak flame
-
Overly large flame
-
Inconsistent ignition
-
No flame at all
-
Valve stuck left/right
-
Knob falling off
Correct installation ensures your Maduro lighter maintains a stable, safe, and adjustable flame.
Step 1 – Light the Lighter and Check the Flame Height
Before reinstalling the knob:
-
Ignite your lighter.
-
Observe the current flame height.
-
If the flame is normal → start in the middle position
-
If the flame is too small → start closer to the right limiter
-
If the flame is too large → start closer to the left limiter
-
Understanding the starting flame height helps you align the knob correctly during installation.
Step 2 – Identify the Two Limiters
Inside the adjustment slot of your Maduro lighter are two physical limiters.
These limiters define the maximum left and right rotation of the flame adjustment knob.
The correct starting point of the knob depends on the flame height:
-
Normal flame → Position knob in the middle
-
Flame too small → Move starting point toward the right limiter
-
Flame too big → Move starting point toward the left limiter
Positioning the knob between these limiters ensures your lighter has a usable adjustment range.
Step 3 – Position the Knob Correctly
Place the knob onto the valve shaft:
-
Align the fixed point of the knob between the two limiters.
-
For the most accurate alignment, set it near the middle position.
This ensures you can adjust the flame both higher and lower after installation.
Step 4 – Secure the Valve with the Flathead Screw
Once you’ve aligned the knob:
-
Place the knob horizontally/level.
-
Insert the small flathead screw into the center hole.
-
Tighten carefully using a precision screwdriver.
-
Ensure the knob rotates smoothly within the limiter range.
After tightening, test the flame again to confirm proper function.
What the Limiters Do
The limiters prevent the valve from being turned too far, which ensures:
-
Stable butane flow
-
Safe flame size
-
Accurate high/low adjustments
-
Protection against breaking the valve
When the knob is positioned in the middle, you will have the full adjustment range in both directions.
Video Tutorial
Watch the complete video demonstration here:
🎥 Maduro Lighter Flame Valve Installation Tutorial
https://www.youtube.com/shorts/ehjcUZz8CNs
Common Questions (Q&A)
Why did my valve knob fall off?
This usually happens when the screw loosens over time, or when the flame is adjusted too forcefully.
Can I replace the valve myself?
Yes — if the knob or screw is missing or broken, replacement parts are available.
Is this guide for Maduro M1 or M2?
This tutorial applies to both Maduro M1 and Maduro M2 lighters, and most similar torch lighters with adjustable flame valves.
What if my flame still doesn’t adjust?
The internal valve may be blocked. Try a refill and purge, or contact our support team.
Get Replacement Knobs & Parts
Need a new flame adjustment valve, screw, or spare parts?
👉 Order replacement Maduro lighter parts here:
https://www.cigaraccessorieswarehouse.com/
Final Tips
-
Never overtighten the screw
-
Always adjust the flame with the knob, not with force
-
Purge old butane before refilling
-
Keep the valve area clean of dust and lint
A properly installed flame adjustment valve ensures your Maduro lighter delivers a consistent, powerful flame for your cigars.